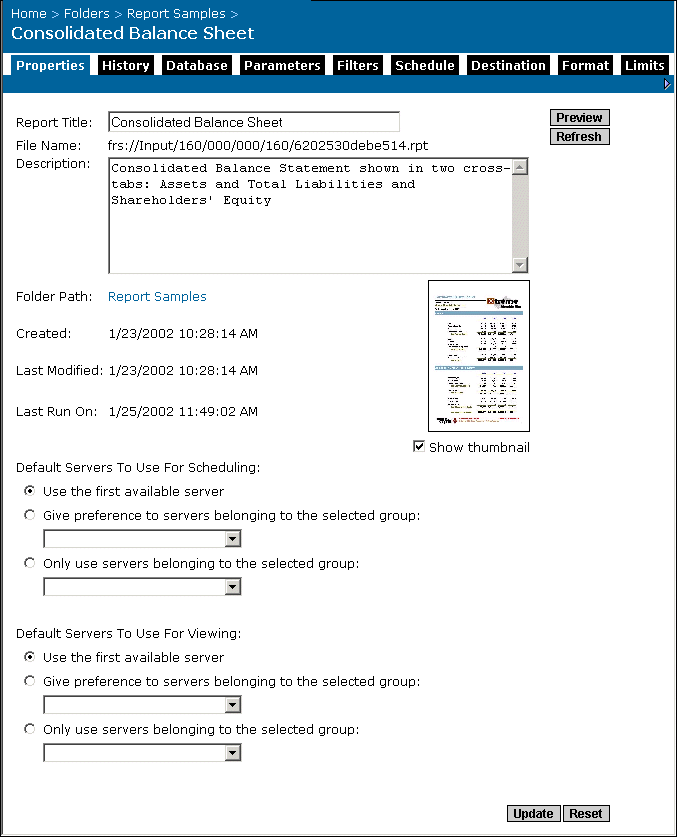
In the Properties page of a report object, you can change the report title, view the file name and location of the report object, view and modify the description of the report object, and select the default servers to use for scheduling.
The Preview button enables you to view a report on demand with all of your current report settings. The report will be generated from saved data; if there is no saved data available (for example, if there are no instances of the report), Crystal Enterprise will connect to the specified database to obtain the necessary data required for generating the report. In order to use the Preview function, the user will need to have rights at the Schedule level or higher. (To preview a report with saved data, the user will need to have rights at the View level or higher.) By default, administrators have rights at the Full Control level (the highest rights setting) for all report objects.
When you click the Refresh button, the page will be updated with the latest information. The Show thumbnail check box is selected by default. If you do not want a thumbnail preview of this report to be available in ePortfolio or another web application, clear the Show thumbnail check box.
Note: A thumbnail is a graphical representation of the first page of a report. If the original report does not contain a thumbnail, then a thumbnail will not be stored on Crystal Enterprise.
In the Properties page, you have the option of specifying the default job servers that Crystal Enterprise will use when scheduling and processing report instances. You can also specify the default job servers for Crystal Enterprise to use when you view a report. You can choose your settings so that Crystal Enterprise will use the first available server, attempt to use the servers belonging to a selected group first (and, if the servers from that group aren't available, use any available server), or use only servers that belong to a specific group.
By selecting a particular server or server group, you can balance the load of your scheduling or viewing, as specific reports can be processed using specific job servers. You must first create server groups by going to the Server Groups management area in the CMC before you are able to select servers that belong to a selected group. You can also set the maximum number of jobs a job server will accept. For more information, see Modifying the number of jobs per Job Server.
Note: If you choose the "Use the first available server" option, the Automated Process Scheduler (APS) will check the job servers to see which one has the lowest load. The APS does this by checking the percentage of the maximum load on each job server. If all of the job servers have the same load percentage, then the APS will randomly pick a job server.
Crystal Enterprise will use the server that has the most resources free at the time of scheduling.
Select a server group from the list. This option will attempt to process the report from the servers that are found within your server group. If the specified servers are not available, then the report will be processed on the next available server.
This option ensures that Crystal Enterprise will only use the specified servers that are found within the selected server group. If all of the servers in the server group are unavailable, then the report will not be processed.
| Crystal Decisions, Inc. http://www.crystaldecisions.com Support services: http://support.crystaldecisions.com |