Creating a server group

To create a server group, you need to specify the name and description of the group, and then add servers to the group.

To create a server group
  1. Go to the Server Groups management area of the CMC.
  2. Click New Server Group.

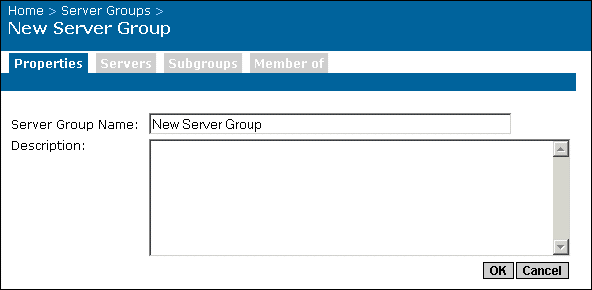
    The New Server Group Properties tab appears.

  3. In the Server Group Name field, type a name for the new group of servers.
  4. Use the Description field to include additional information about the group.
  5. Click OK.
  6. On the Servers tab, click Add/Remove Servers.
  7. Select the servers that you want to add to this group; then click the > arrow.

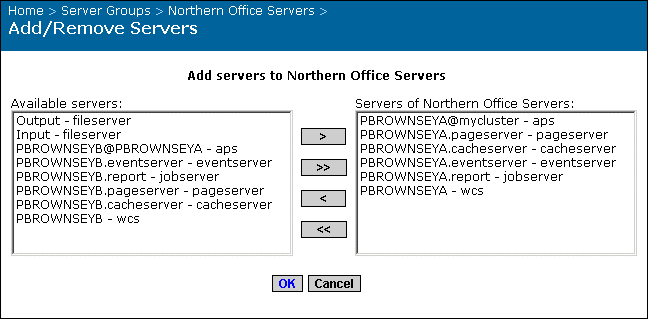
    Tip:    Use CTRL+click to select multiple servers.

    This example adds the servers running on PBROWNSEYA to a server group called Northern Office Servers.

  8. Click OK.

    You are returned to the Servers tab, which now lists all the servers that you added to the group. You can now change the status, view server metrics, and change the properties of the servers in the group. For more information, see Server management overview.


Crystal Decisions, Inc.
http://www.crystaldecisions.com
Support services:
http://support.crystaldecisions.com